The Jabach Portrait: A Change of Plan
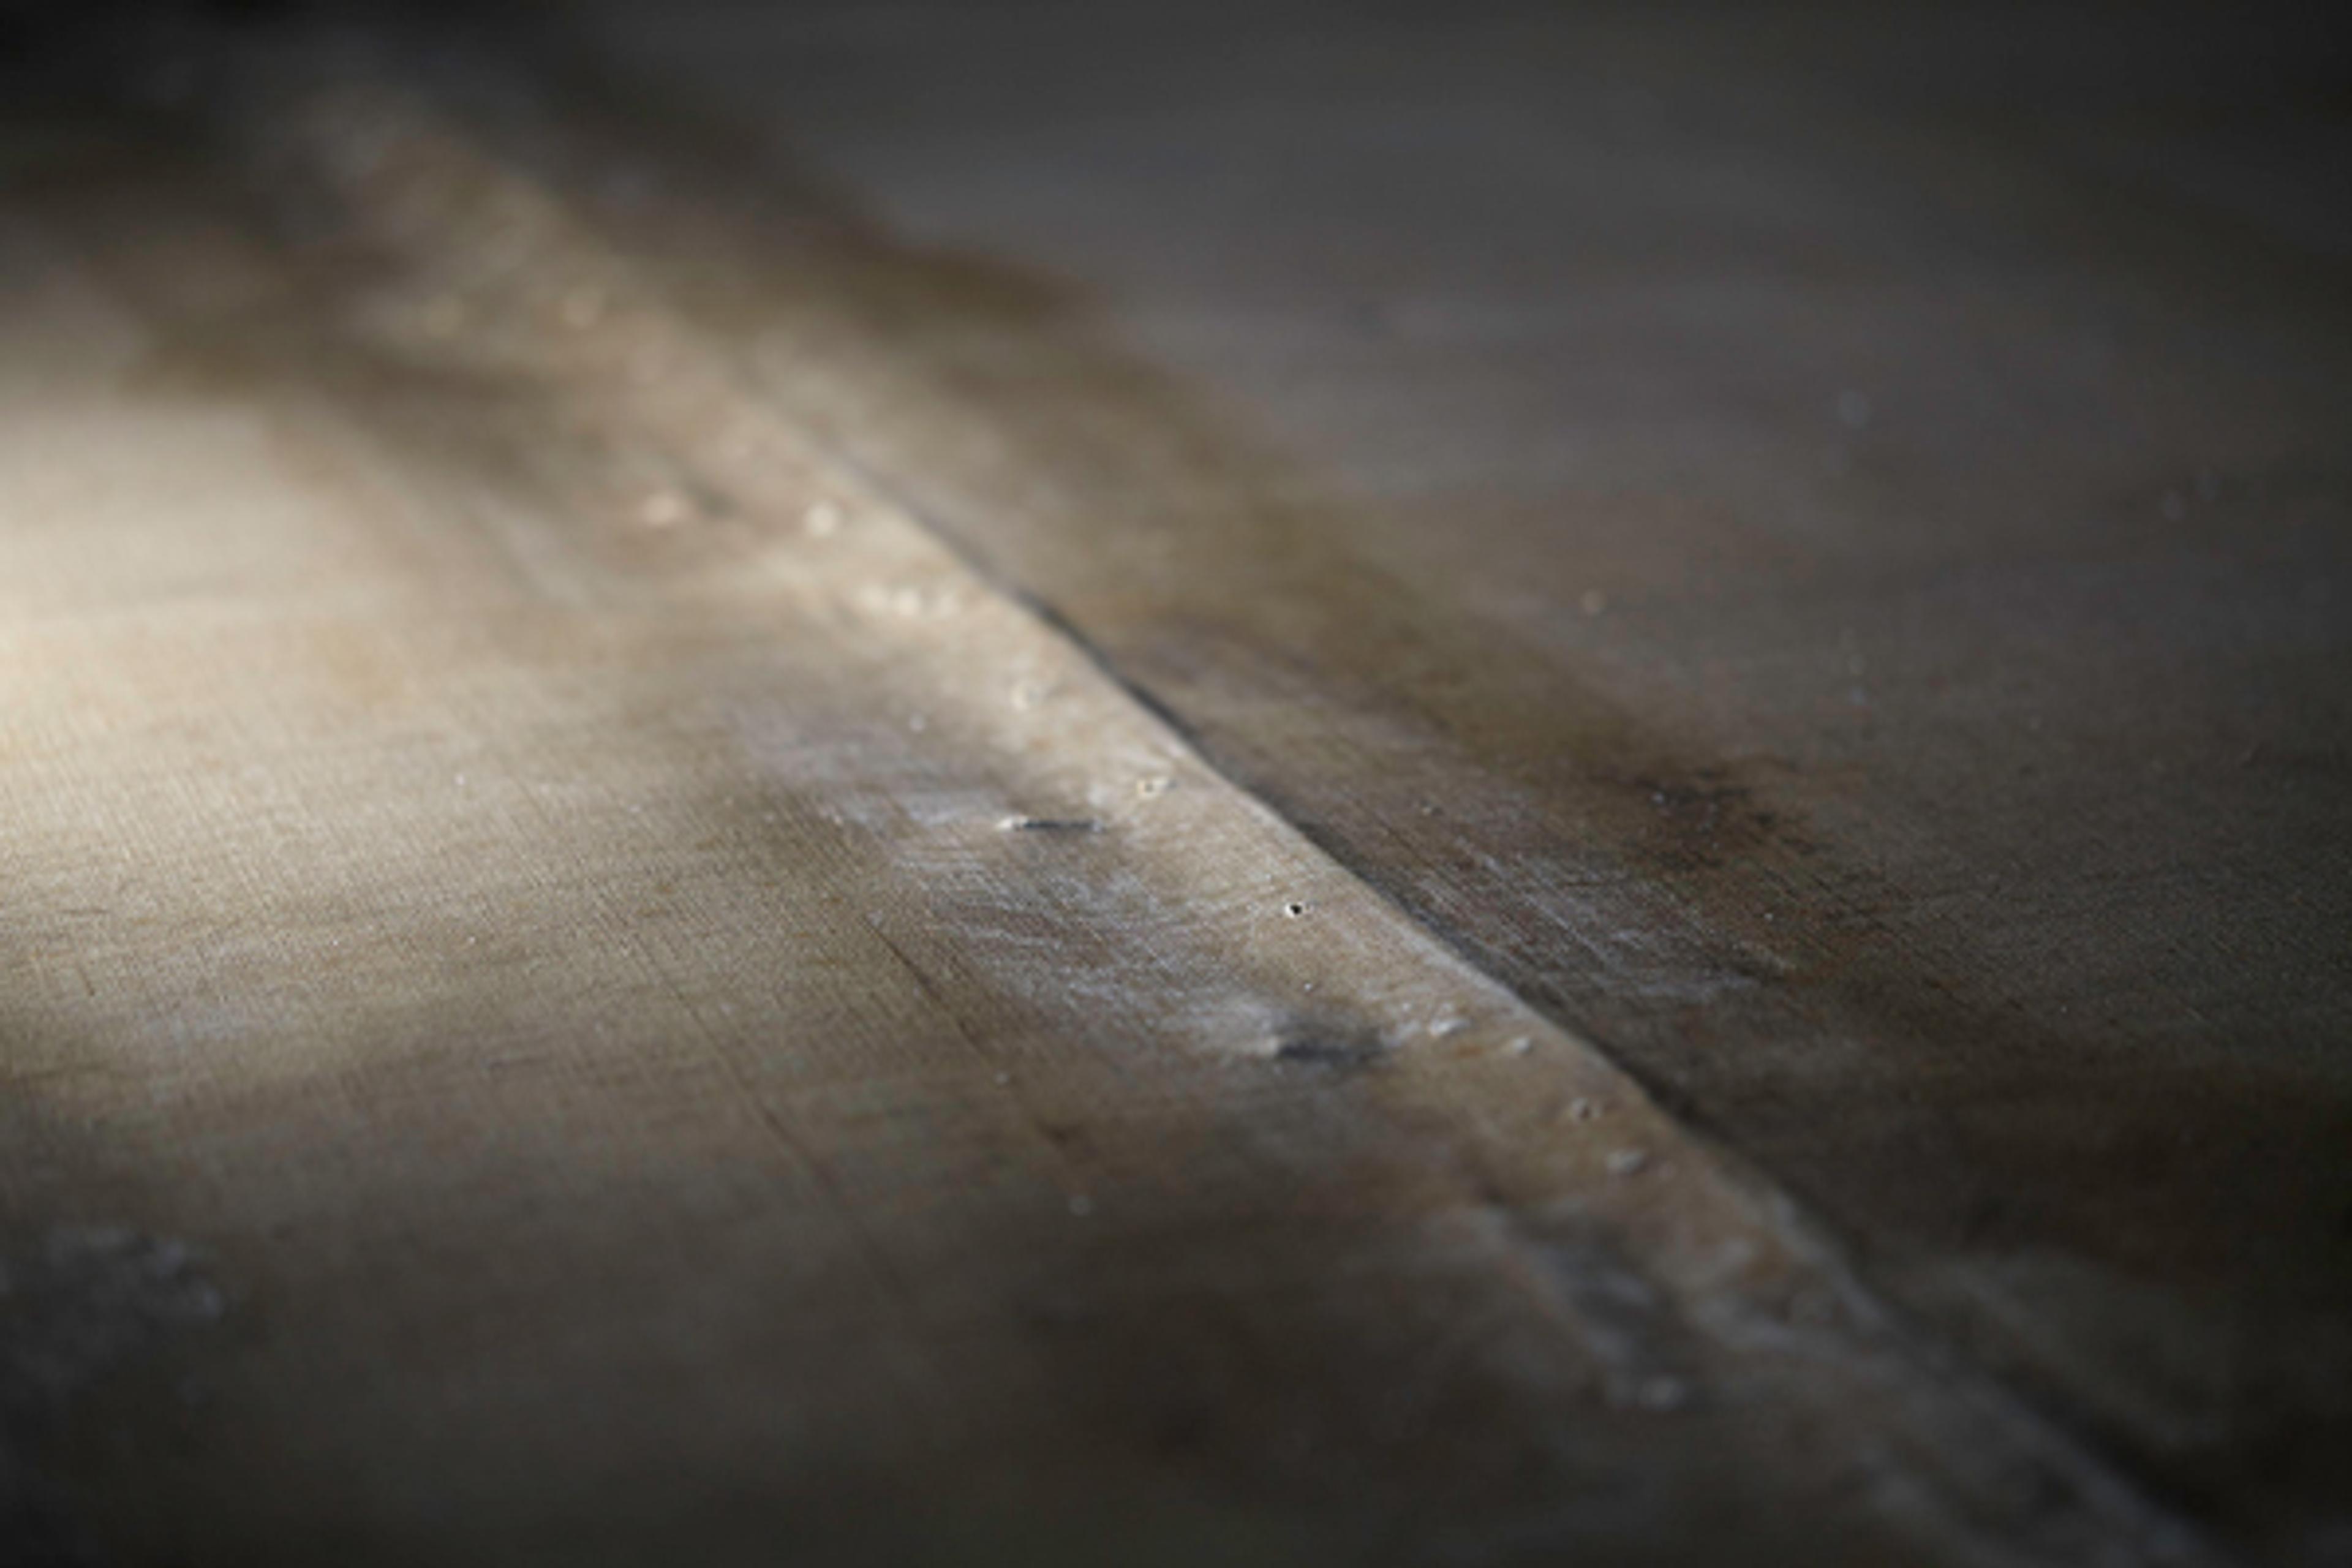
Detail of the front of the Jabach portrait in raking light, before structural treatment, showing planar distortions in the surface
«One thing you learn quickly in conservation is that the objects under your care make the rules! Frequently, well-thought-through plans or strategies for approaches to treatment have to be tweaked or completely rethought.»
When I first encountered Le Brun's grand portrait in a warehouse in London back in 2013, I was convinced that relining would be required. Pronounced distortions had been caused where the top eighteen inches of the composition had been folded over a smaller stretcher for more than a hundred years (see "The Jabach Portrait Conservation Continued: Next Steps"). As I became familiar with the painting here in New York, however, I decided that a more localized approach to the problem would be appropriate. My idea was to use a large, three-foot-diameter tube to roll up the top section of the painting and work on the distortions directly from the front.
In my last post, I explained the process of lifting the stretcher off the painting and removing the wax strip-lining and accumulations of wax from the reverse. These steps gave me a much better sense of the physical properties of the painting; in short, I realized that my initial plan just wasn't going to work. The painting, complete with its two linings, felt like linoleum and clearly would require a more complex procedure using moisture, heat, stretching, and pressure to relax the structure and bring it back in plane.
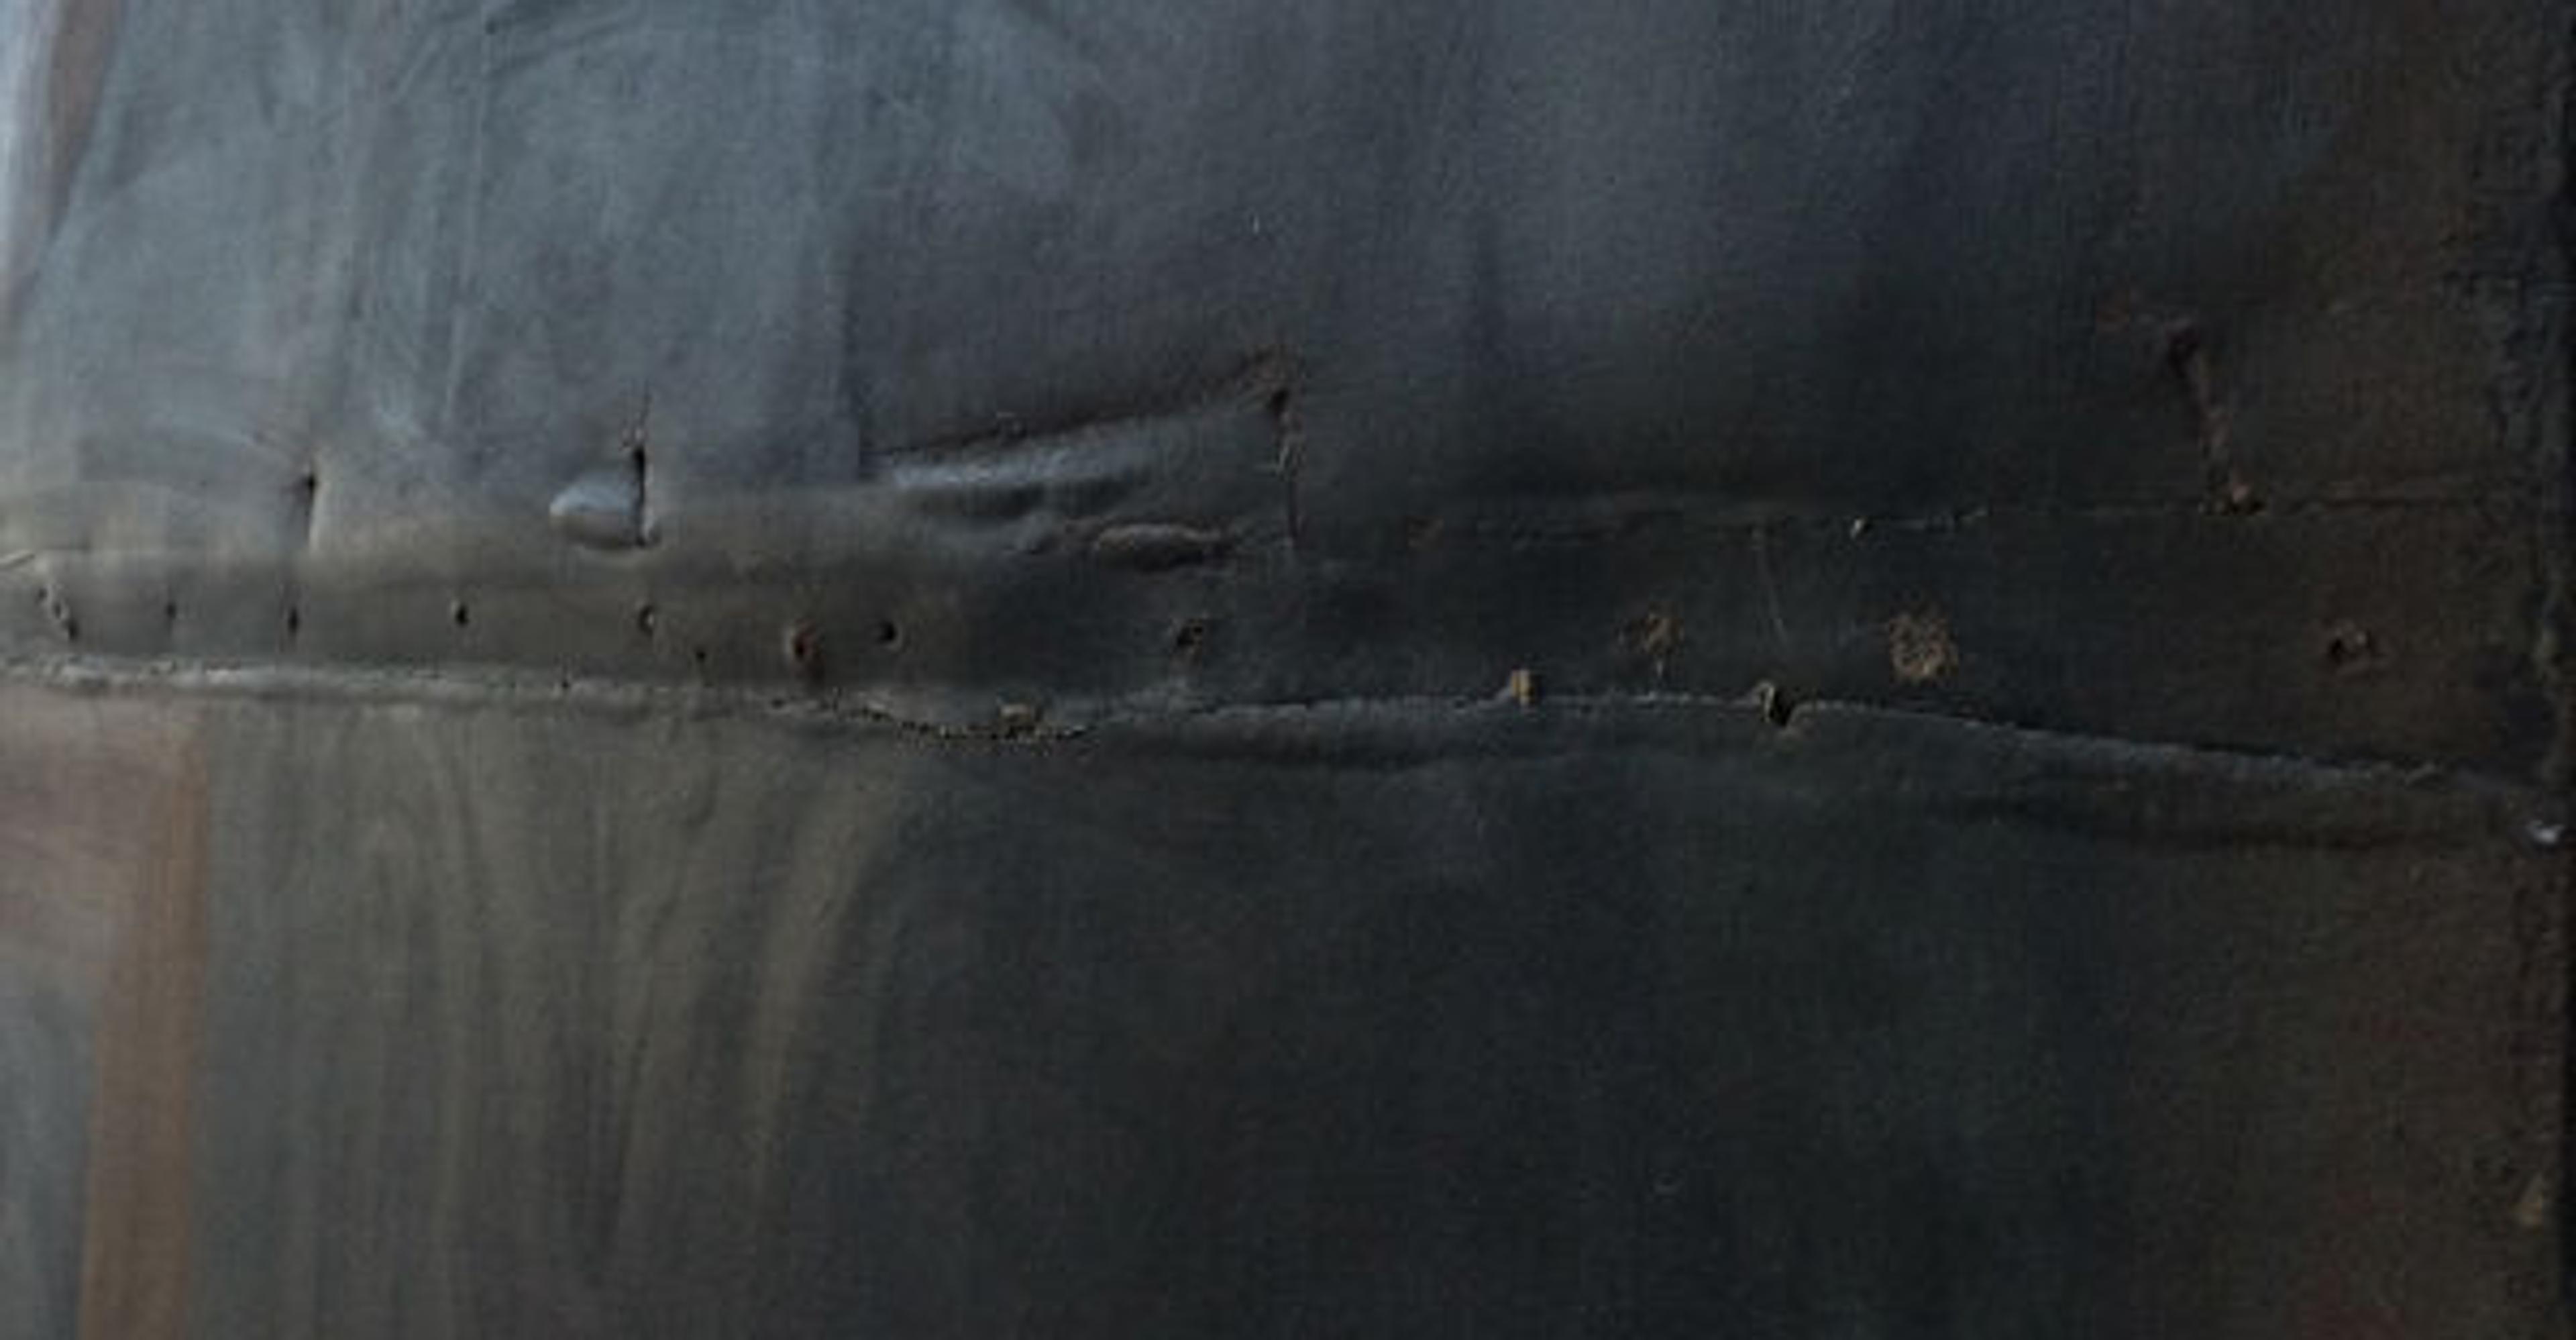
Detail of the reverse in raking light, before structural treatment, showing planar distortions in the surface
As in my last post, I'm including footage to help explain the sequence. These clips shorten a time-consuming and repetitive process—carried out over several weeks—to a digestible couple of minutes. (Note: Moisture, heat, and pressure can induce tremendous, beneficial results or, frankly, inflict serious damage. Once again, the difference lies in the knowledge and experience of the practitioner, so the old adage "Don't try this at home" is particularly relevant here.)
I temporarily apply a piece of polyester fabric to the reverse using a heat-seal adhesive. The fabric is fixed to a wooden bar at one end. This will be used to facilitate stretching out the distortion in the area to be treated. (This "patch" can easily be removed once the treatment is complete.)
A section of the reverse is masked off and then moistened with a fine mist of water. The area is covered and weighted slightly to allow the moisture to penetrate the linings.
Clamps and a block are used to hold the wooden bar to which the patch of fabric is attached, flush with the surface of the table. Further clamps brace the bar to a piece of wooden molding that has been screwed to the table surface.
As the moistened area of the reverse is slowly heated with a thermostatically controlled iron, pressure is gradually applied from above and from the side using the iron and clamps. The bottom edge of the painting has previously been fixed to the tabletop to enable the horizontal pressure applied to the fabric patch to locally pull out the distortion.
The now flattened area is weighted overnight.
The process has been successful, and I am very pleased with the result—the surface is once again in plane. The next steps will be to apply a new strip-lining, turn the painting over, carry out additional consolidation as necessary, and then restretch it.
Photographs by Michael Gallagher. Videos shot and edited by Kate Farrell and Sarah Cowan
Michael Gallagher
Michael Gallagher is the Sherman Fairchild Chairman of the Department of Paintings Conservation.